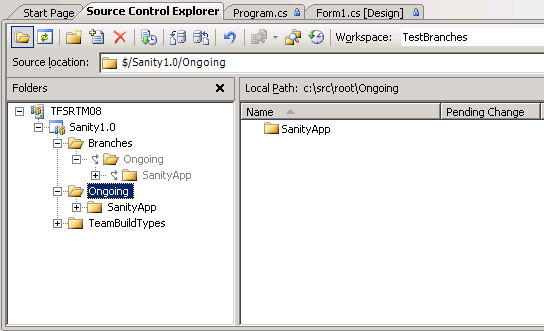
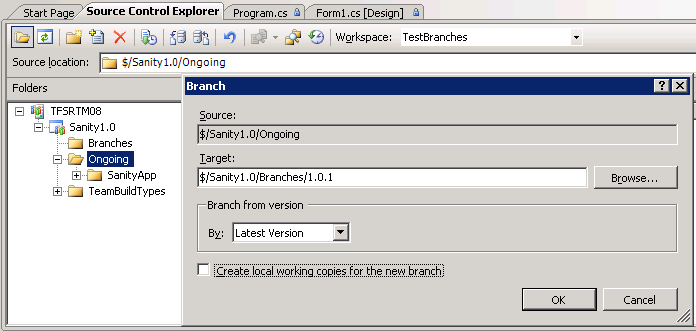
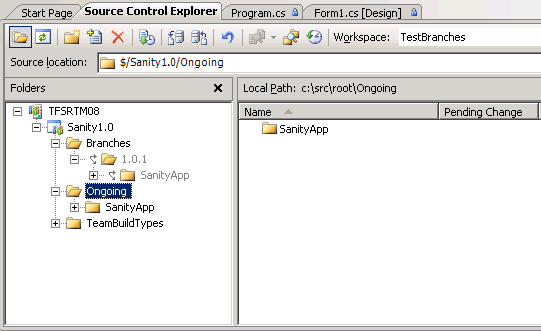
One would expect that creating a branch is pretty well trodden path today; that's why it was kind of shock to me that there are still people out there, that do not know how to do that efficiently. The problem is, you end up with new branch created at "$/Project/Branches/Ongoing" (as illustrated below). And since what you actually wanted is not a branched folder named "Ongoing", but one named "1.1", you end up renaming newly created branch. Red light flashing - wrong answer! Here is the correct walkthrough: And voila! The desired branch folder is created Since the behavior does not seem to be very intuitive to me (and to some people I know), I thought it is worth blogging about.
The problem is simple – you want to branch folder "$/Project/Ongoing" to "$/Project/Branches/1.1". And here is the wrong way of doing it: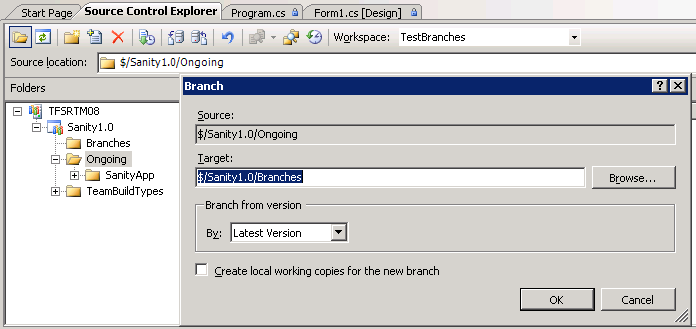


No comments:
Post a Comment